Final Content Page
I didn't want my content page to seem dry so I decided I would make it very picture oriented especially since my survey showed potential consumers wanted a high number of pictures in the magazine. However, I still want the content page to retain its purpose and portray the information prominently.
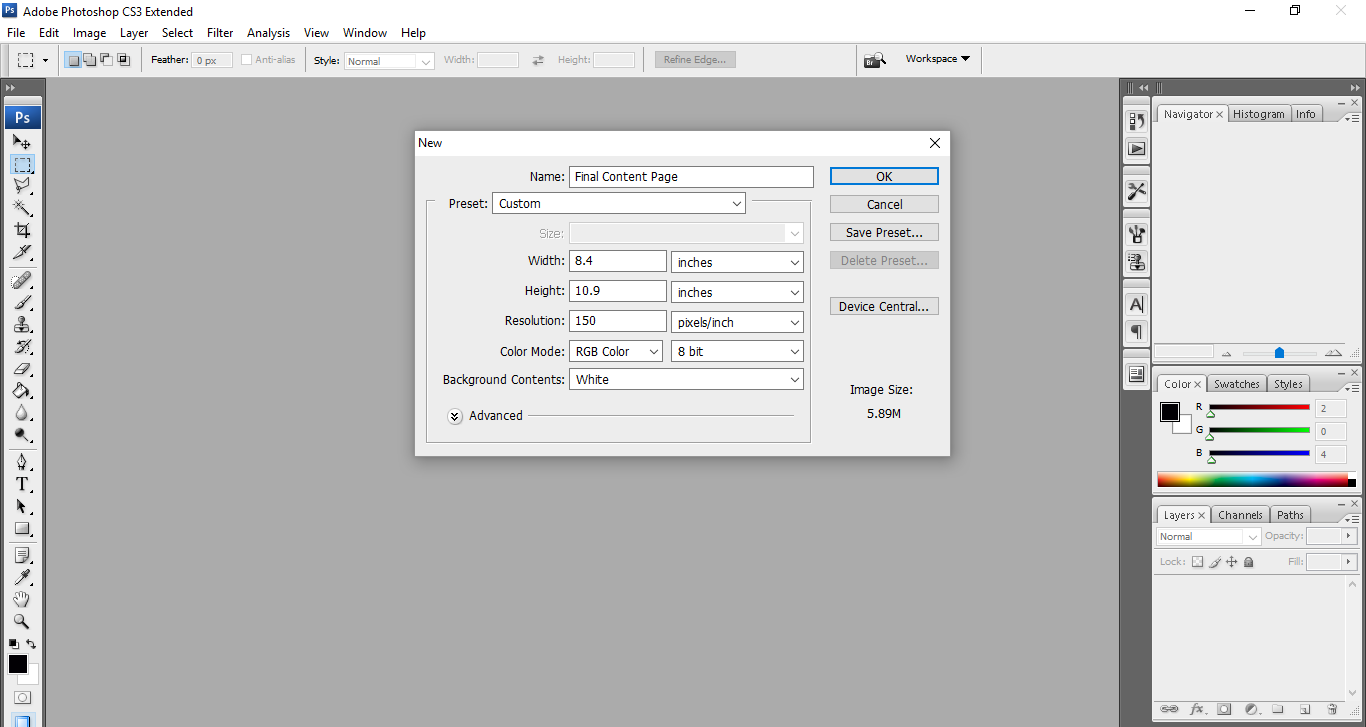
I started off by opening a new file on photo shop of the same dimensions as my magazine cover (8.4 x 10.9 inches) of resolution 150 in RGB colour mode.
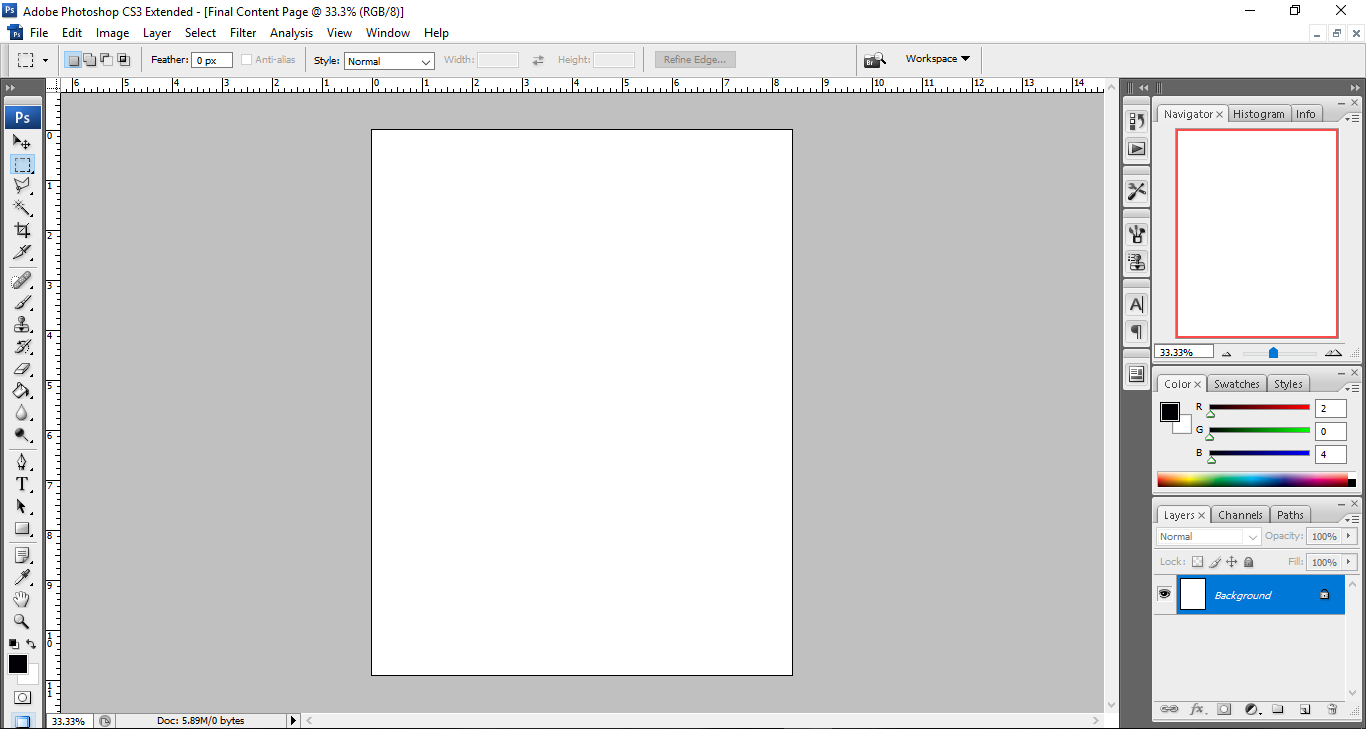
The next step was to add the guides to
my content page, which would act as margins and help me distinguish between the
columns in my magazine. I did this with the help of the ruler tool (Ctrl R)
which made the rulers appears and consequently the guides when I clicked and
dragged from the rulers.

After adding the guides, I decided to
add the heading. Rather than the conventional 'Contents' I decided to use 'This
month..' since it also acts as a hook. The ellipses urges the readers to move
to the contents of the page. The heading is the biggest textual element on the
page (43 pt) as to be the first thing that catches the attention of the
readers. I decided to keep this in 'Times New Roman' to match the font on my
cover. The serif and increase in tracking making it more sharp and prominent. I
chose the font colour to be black so it stands out against the white background.

I then decided to work on my editor's note. I started off by adding a picture. I used a PNG of a Polaroid and dragged it on the main file. I then opened a picture of myself (Ctrl O) and dragged it onto the main file as well. I transformed the picture to fit onto the Polaroid file with the help of the transformation tool (Ctrl T). Once this was done I added a little text on the base of the Polaroid in a script font saying 'Editor' with the help of the text tool. To make this entire element more prominent against the white background I decided to add a layer style of drop shadow on the Polaroid PNG of 89% fill opacity.
I used the text tool for the actual note itself by clicking and dragging till a text box of appropriate dimensions was formed. I used a black colour for the font so it stands out against the white background and is readable. For the font I decided to retain 'Times New Roman' for it's simplicity since the editor's note is not an element I want the spotlight to be on. For this very reason the font size was chosen to be 11 pt, giving it ample visibility but not making big enough to steal attention away from other important elements like the features. As a signature, I used a scriptural font 'Hamiliton Demo' of the size 20 pt so it looks like an actual signature. The slightly bigger font size also serves this purpose as well as that of making it stand out from the rest of the note.


Despite
the soberness of my cover and cover story, I realised my magazine is ultimately
still a music magazine and it looked too formal especially for an indie music
magazine. So I decided to change the font of my heading to a samserif font,
'MOON GET!'. This font was bold and just the right amount of informal to take
away the sombreness of the content page

After this change in the
look of my content page, I used the rectangle tool to make two small slim
rectangles of the same red shade present in my colour scheme. I made these to
separate the social media icons from the rest of the column and to increase the
neatness of my content page. I added Facebook, Twitter and Pinterest icons by
opening PNGs of them and transforming them with the help of the transformation
tool (Ctrl T) to appropriate sizes.

I got rid of the bottom rectangle, in
favour of a longer one which I made with the help of the rectangle tool. I
copied it by selecting it, pressing Alt and dragging it. I placed that under
the first one on a distance. I added my magazine name in between them in the
same font as the masthead but in black colour so it stands out against the
white background. The size I used was 35 pt so it's not a so large that it
steals attention from the actual contents but is still very prominent.After that I added credits in
'Times New Roman' but in the significantly smaller size of 7.5 pt making it one
of the smaller textual elements on the page as to not be too prominent since
it's secondary information a consumer may be looking for. I accomplished this
by adding a text box with the help of the text tool and adjusting the leading
accordingly. The colour remains black to be prominent against the white
background. I then created another small text box with the help of the text
tool for contact information. The font size at 6.5 made it the smallest textual
element on the content page. I made the colour of the text red to break the
monotony and for it to be prominent despite the small font size.I also added the page number in
the footer on the bottom right corner in red si it stands out. For the same
reason the size was increased to 10 pt.

After this it was finally time to add the
contents themselves. I started off by making the 'Regulars' section. For this I
first created a dotted line boundary in red in accordance to my magazine's
colour palette with the help of the text tool, adding periods in 'Times New
Roman' in 18 pt till they covered the width of the third column.
I added the heading for the Regular section in the same font as my heading 'MOON GET!' to introduce uniformity in all headings. The colour red was used for the heading of this sections (as it will be for all sections to create uniformity and cohesion) according to the the colour scheme. The red was used to distinguish the sections from the title of the features which will be done in black.
Next, I started making working on the contents of the section. For the title and the number I used 'Franklin Gothic Book' to distinguish it from the other text on the page with the title being 14 pt and the page number being 13 pt, both which I added thanks to the text tool. The page number was added in red while the title was in black, making both elements more prominent and easy to read. The description was added by creating a text box. It was also in 'Franklin Gothic Book' but the font size was a significantly smaller 7 pt since the description is only needed after the title and page number making it an element which needs to be viewed secondly and not predominantly. The colour of the description, however, was kept grey to increase visibility. All three elements were arranged appropriately with the description being located underneath the title since it's an element which doesn't need instant attention and the number was placed on the left of the title since both pieces of information are needed together.

Rather than repeating this entire process,
I copied the entire element by selecting all the relevant text layers by
pressing Ctrl and clicking on them. Once all the layers were selected, I
pressed Alt and dragged them until a copy was made and moved to an appropriate
position. I repeated this four more times. I selected all these layers and
added them in a group for later organisational assistance.

I then clicked on respective layers to
edit them, completing the regulars section. I decided to keep the contents in
chronological order for every section for the reader's ease.

Afterwards, I created more boundaries on
my content page to enclose the regulars section and for the tour dates section.
First I added an upper boundary for the tour dates section by utilising the
text tool, adding periods as I did for the first boundary. For the divider
between the regulars and the tour dates I first created another longer line of
periods with the help of the text tool and then turned it vertical by changing
the text orientation with the help of the text orientation tool. I then
adjusted these to my liking, with the vertical dotted line being a little on
the left because I want it to overlap on the second column.
I added 'Tour Dates' in the same font and colour as the other section for cohesion and uniformity. The font size, however, was 13 pt since the size of this section in itself is smaller, naturally giving the regulars section more prominence since the that's the the first thing regular readers would be looking for.

Next I typed in an artist name along with
a page number, in black and red, 13 pt and 11 pt respectively, keeping up with
the theme of the content page. The font sizes were kept comparatively small
since the regular readers are likely to want access to the regulars pre
dominantly. I adjusted both elements to my liking with the help of the move
tool. After I was done with this, I selected both layers by pressing Ctrl and
then clicking on them and then pressed Alt and dragged them to make several
copies of them. I then edited them layer by layer and added all of them in a
group for organisational purposes. I bolded Emily Demona's name in this section
for more prominence since the likelihood of people wanting to access her tour
dates more easily is high since she's on the cover and most people will pick up
the magazine for her.
I then made the last vertical boundary with the help of the text tool and the text orientation tool, keeping it consistent with the others by keeping it red, 'Times New Roman' and the same size. This line, however, was perfectly on the margin since I didn't want an overlap effect here.


After that it was time to add the features
to the content page so I naturally started with my cover story. For this
feature I had decided I would utilise two columns while the rest would occupy
one to make it stand out and easily noticeable since it's the cover story and
likely what the consumers have picked the magazine up for. I had already
selected an image to use. I opened this on Photoshop (Ctrl O) and then dragged
it onto my main file. I then transformed it with the help of the transformation
tool and the Shift key and placed it on the upper left side under the heading.
The title like all other headings was written in 'MOON GET!' to keep it's element of informality and to maintain uniformity. It was, however, done in black to contrast and distinguish from the section headings. The size was 18 pt making it the second largest textual element on the page, making it very attention grabbing. This is a good thing since most if not all consumers are likely to be looking for the cover story. I added the page number on the title's left in 'Franklin Gothic Book' in 20 pt in red with the help of the text tool. The location of the page number was on the title's left since this information something the consumer would need together. The red colour breaks the monotony and keeps the content page from looking like a mass of black and makes it stand out which is a good thing because it is primary information. The difference in font offers the same purpose. The description was added by adding another text box with the help of the text tool. Keeping in line with the theme, the description was in grey. The size at 13 pt was though larger than other descriptions, it was still significantly smaller than it's title since the title is more important. It was located under the title as it's information a consumer pursues only after they show interest in the title itself.

Next I added the rest of the featured
articles. Starting off with the first column, I decided to add three there. I
first used a rectangle tool to make a black coloured rectangle of the
dimensions of which the pictures in this column would be since I decided to add
my pictures at the end. I added the title, the page number and description in
the same way as I did for the cover story, only significantly smaller at the
sizes of 14 pt, 14 pt, 10 pt respectively. They followed the same fonts and
colours as the cover story feature for the same reasons. Once this was done and
I had used the move tool to arrange them to my liking, I selected all
appropriate layers (Ctrl click) pressed Alt and dragged till I had enough
copies, Once more adjusting them to my liking. I clicked on each layer to edit
them with the actual details they're supposed to contain. Copying instead of
redoing the process doesn't just save time but maintains uniformity.


After that I selected a rectangle, a page
number, title and description and copied that by pressing Alt and dragging it
to the next column. I then adjusted the size with the help of the
transformation tool (Ctrl T). Once I was happy with it, I selected the
appropriate layers and once more copied it so there is no difference in their
sizes. I then edited them layer by layer to display the information they needed
to display.


I then repeated this by copying the
'Guitar Galore' feature elements by selecting them, pressing Alt and dragging
them to the third column, which I altered in size utilising the transformation
tool. I then copied this twice and adjusted them with the help of the move
tool. Once this was done I edited the layers individually to display the
information of the features they were supposed to display.
I made use of dialogues and puns in my descriptions making them more attention grabbing and interesting, rather than just straight out information which would bore the consumer, thus summarising the content of each article wittily.
I made use of dialogues and puns in my descriptions making them more attention grabbing and interesting, rather than just straight out information which would bore the consumer, thus summarising the content of each article wittily.


Next I added the pre selected images,
replacing the black rectangles. I also decreased the leading of the editor's
note and adjusted all elements accordingly, even adding a few more names in the
credits.

The final result looks like this:

Comments
Post a Comment